Workspace
What is a workspace?
A workspace is a team-based working space.
It manages members, folders, canvases, credits, and settings in one place.
When you complete sign-up, one workspace is created by default.
You can start working in this default workspace right away.
You can also create additional workspaces or be invited to other workspaces when needed.
A single user can belong to multiple workspaces.
Each workspace has its own independent credit pool.
Switching workspaces
Click the workspace selector at the top left of the dashboard to see the workspaces you belong to.
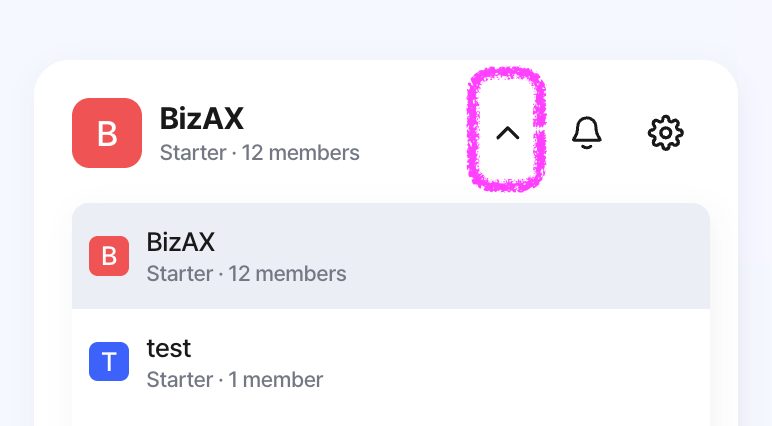
Each workspace shows its current plan and member count. Recently used workspaces appear at the top of the list.
Click a workspace to enter it. ShoeCatch remembers the last workspace you used.
Creating a new workspace
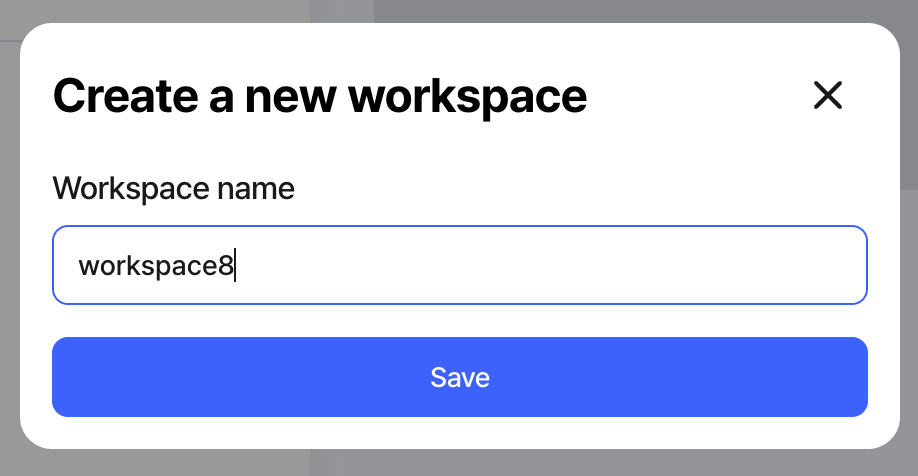
Select Create a new workspace from the workspace selector to create a new workspace.
The basic setup steps are:
Set a name
Enter a name for the workspace.
Invite your team
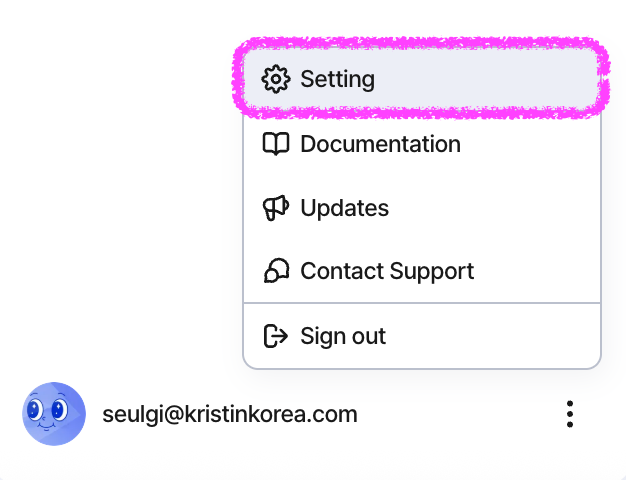
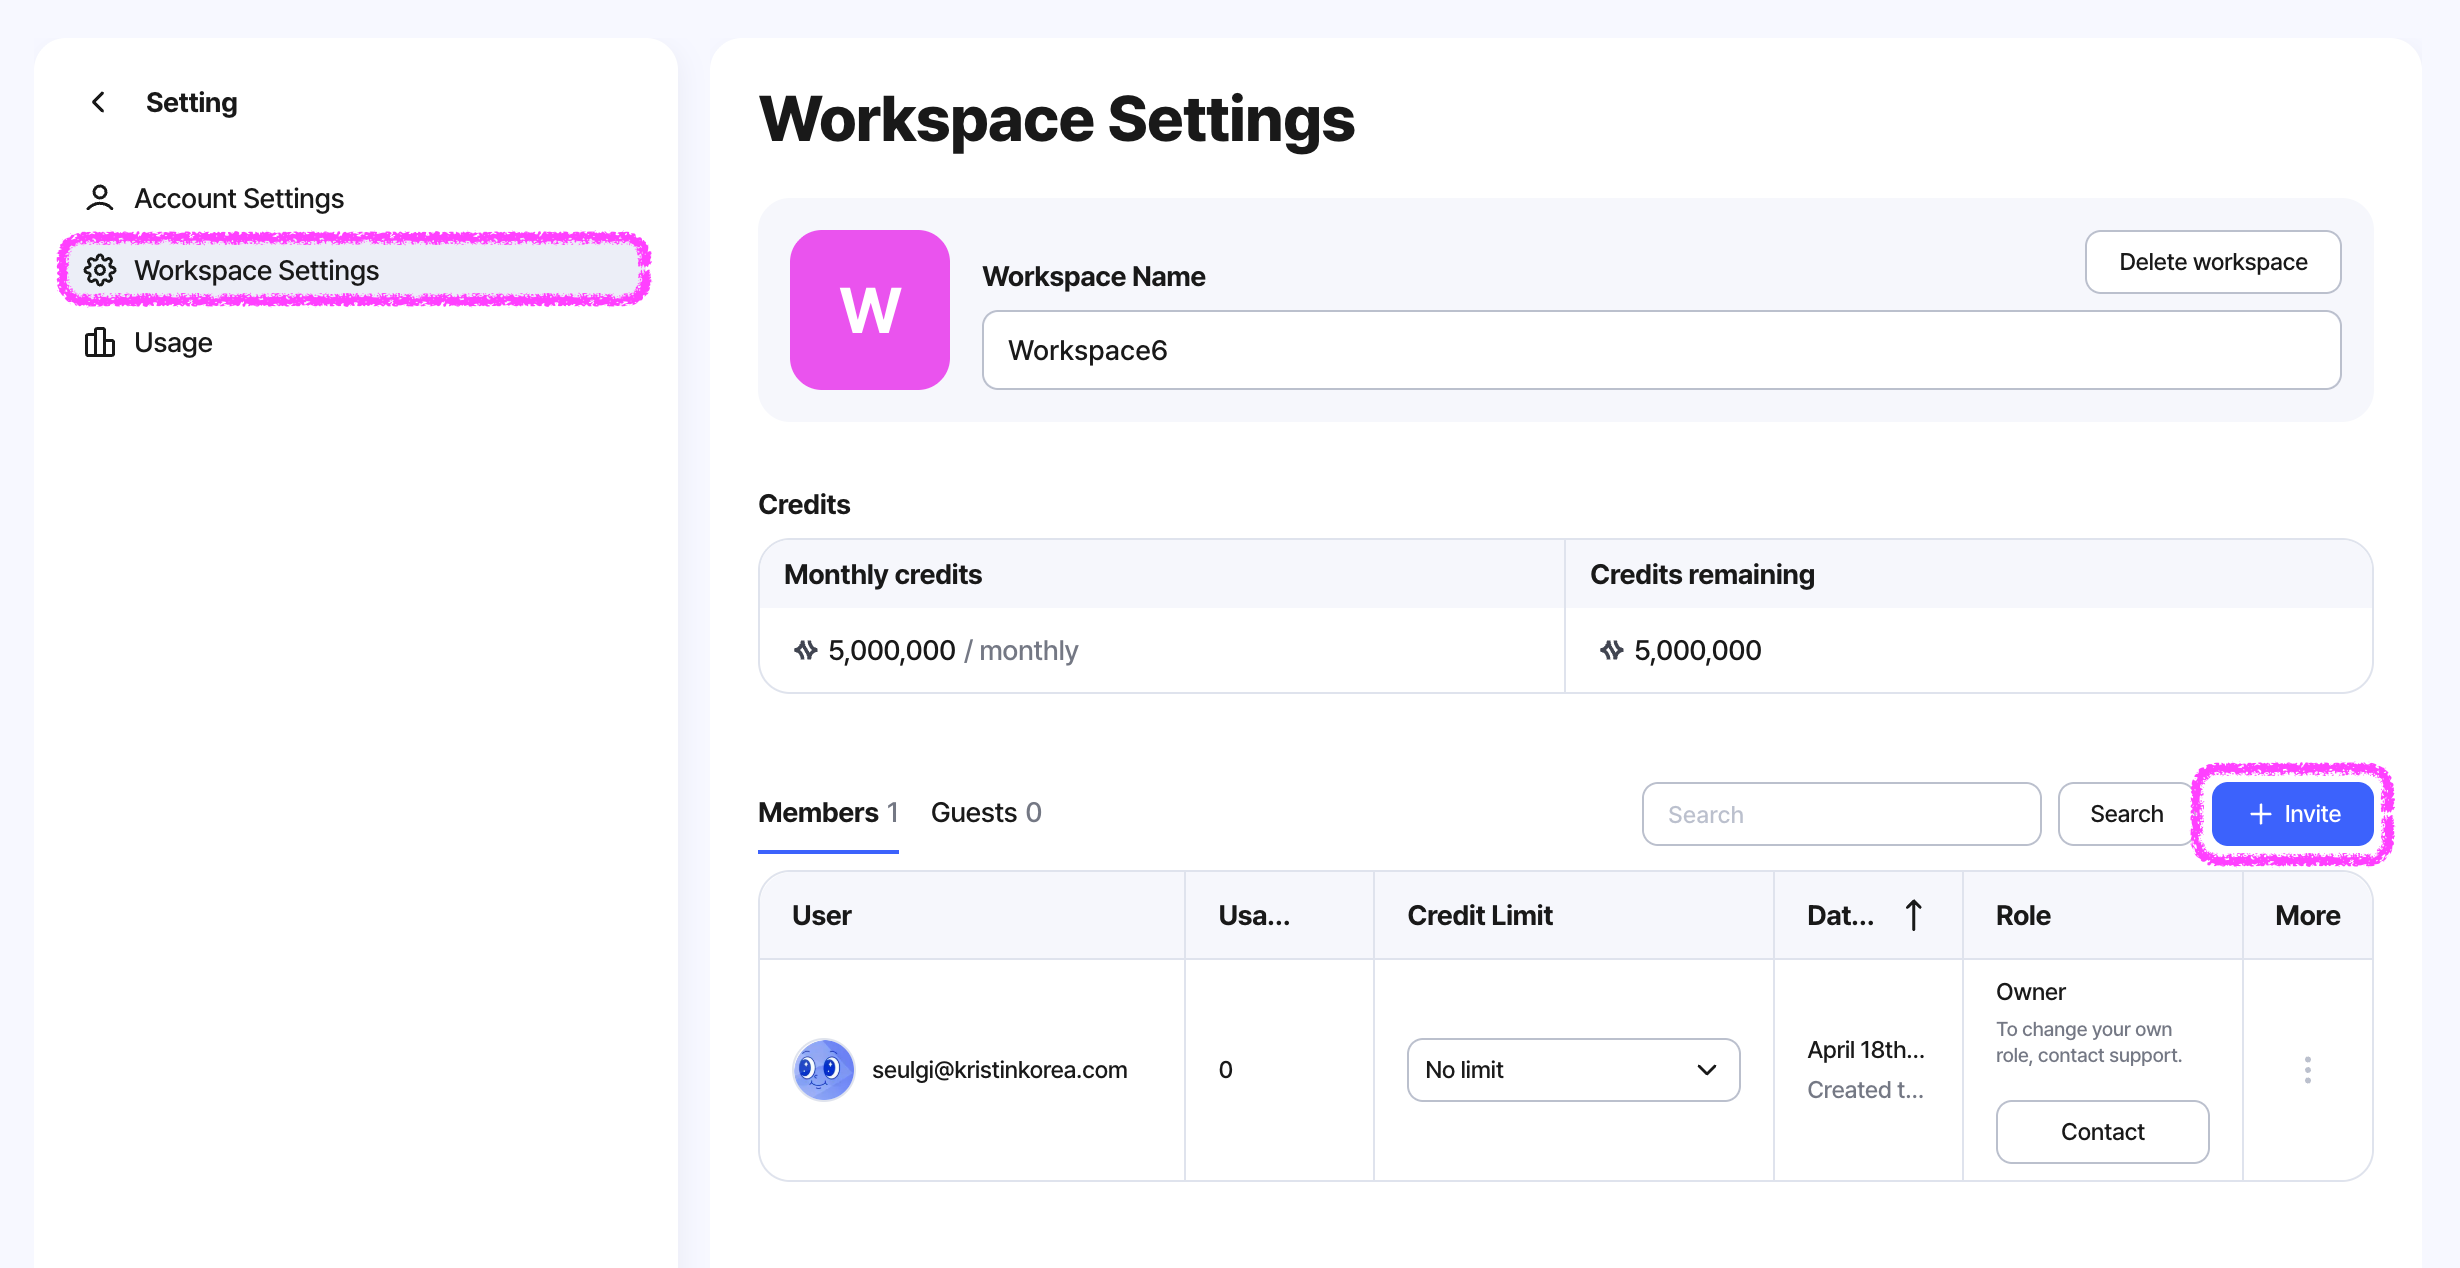
If needed, you can invite team members right away from Setting > Workspace Settings.
It is recommended to separate workspaces by project, client, team, or class when those groups need to be managed separately.
Workspace structure
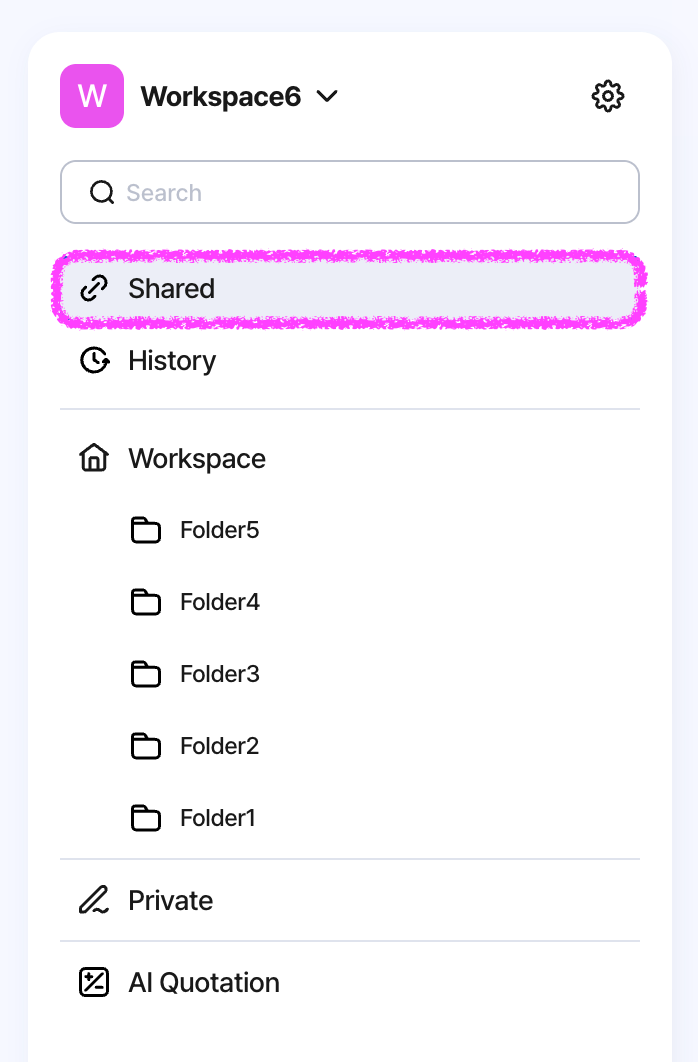
Inside each workspace, you can move between the main areas from the sidebar.
Shared
This is where you can view canvases that have been shared with you.
Only canvases you have access to will appear here. If your access is removed, they will disappear from the list.
Workspace
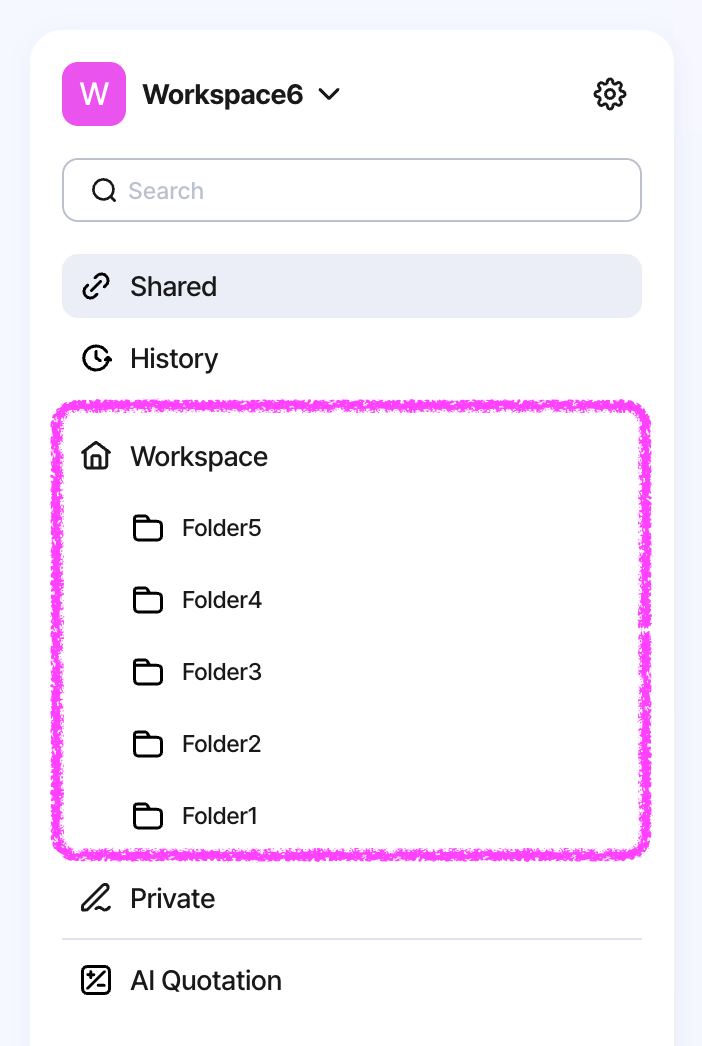
This is the shared area used by the team.
You can organize canvases with folders and collaborate on the same canvas with multiple members.
Private
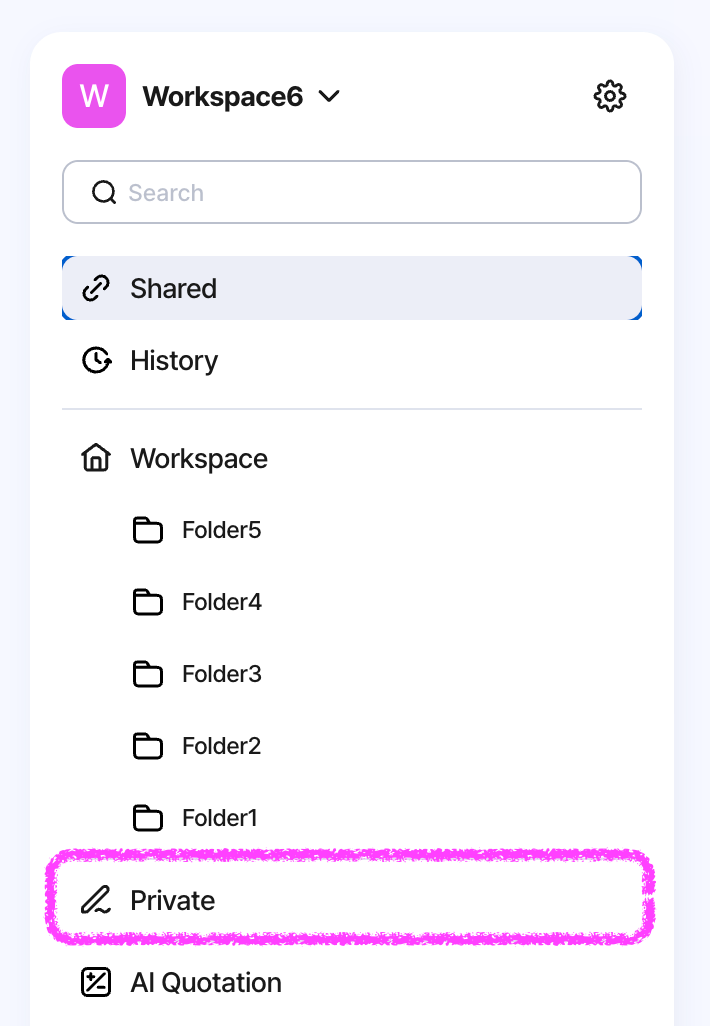
This is your personal working area.
By default, only you can access it. If needed, you can invite specific people to individual canvases.
AI Quotation
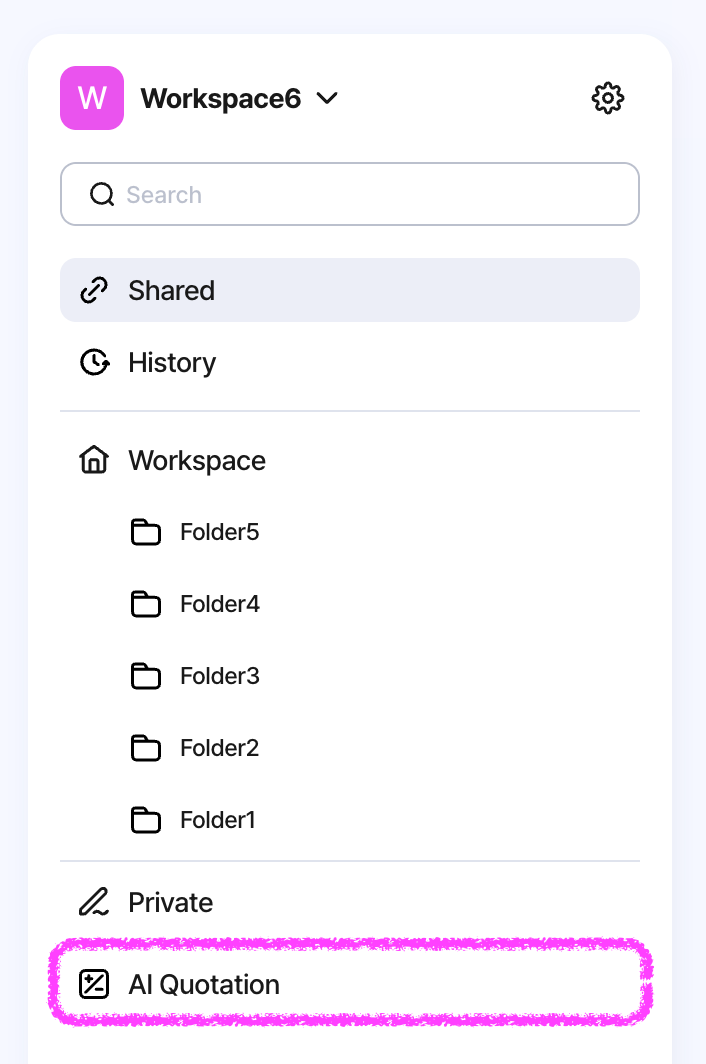
This is the area that takes you to the AI Quotation feature.
🔎 When should you use Workspace vs. Private?
Organizing folders and canvases
In the Workspace area, you can organize canvases using folders.
Create folders
Create new folders to organize canvases by project.
Reorder folders
Drag folders to arrange them in the order you want.
Move canvases
Drag a canvas into a folder to move it.
As the number of canvases grows, it helps to organize folders by brand, season, category, or project.
Moving between Workspace and Private
A canvas can be moved between Workspace and Private.
However, when moved, existing access and sharing settings are reset.
Workspace → Private
Existing access is removed, and only you can access the canvas. You become the canvas owner.
Existing canvas invites and link sharing settings are not kept.
Private → Workspace
Workspace members will be able to see the canvas.
Existing Guest access is removed.
Even if you move the canvas back later, the previous sharing state is not restored automatically.
If needed, you must invite or share it again.
A confirmation modal appears before the move. Please review it before proceeding.
Roles
Roles are assigned at the workspace level.
Each user has one role within a workspace.
Inviting people to a workspace
Workspace invite is the feature used to add someone as a formal member of the workspace.
Only Owner and Admin can send workspace invites.
Invites are usually sent from:
Workspace Settings > Invite
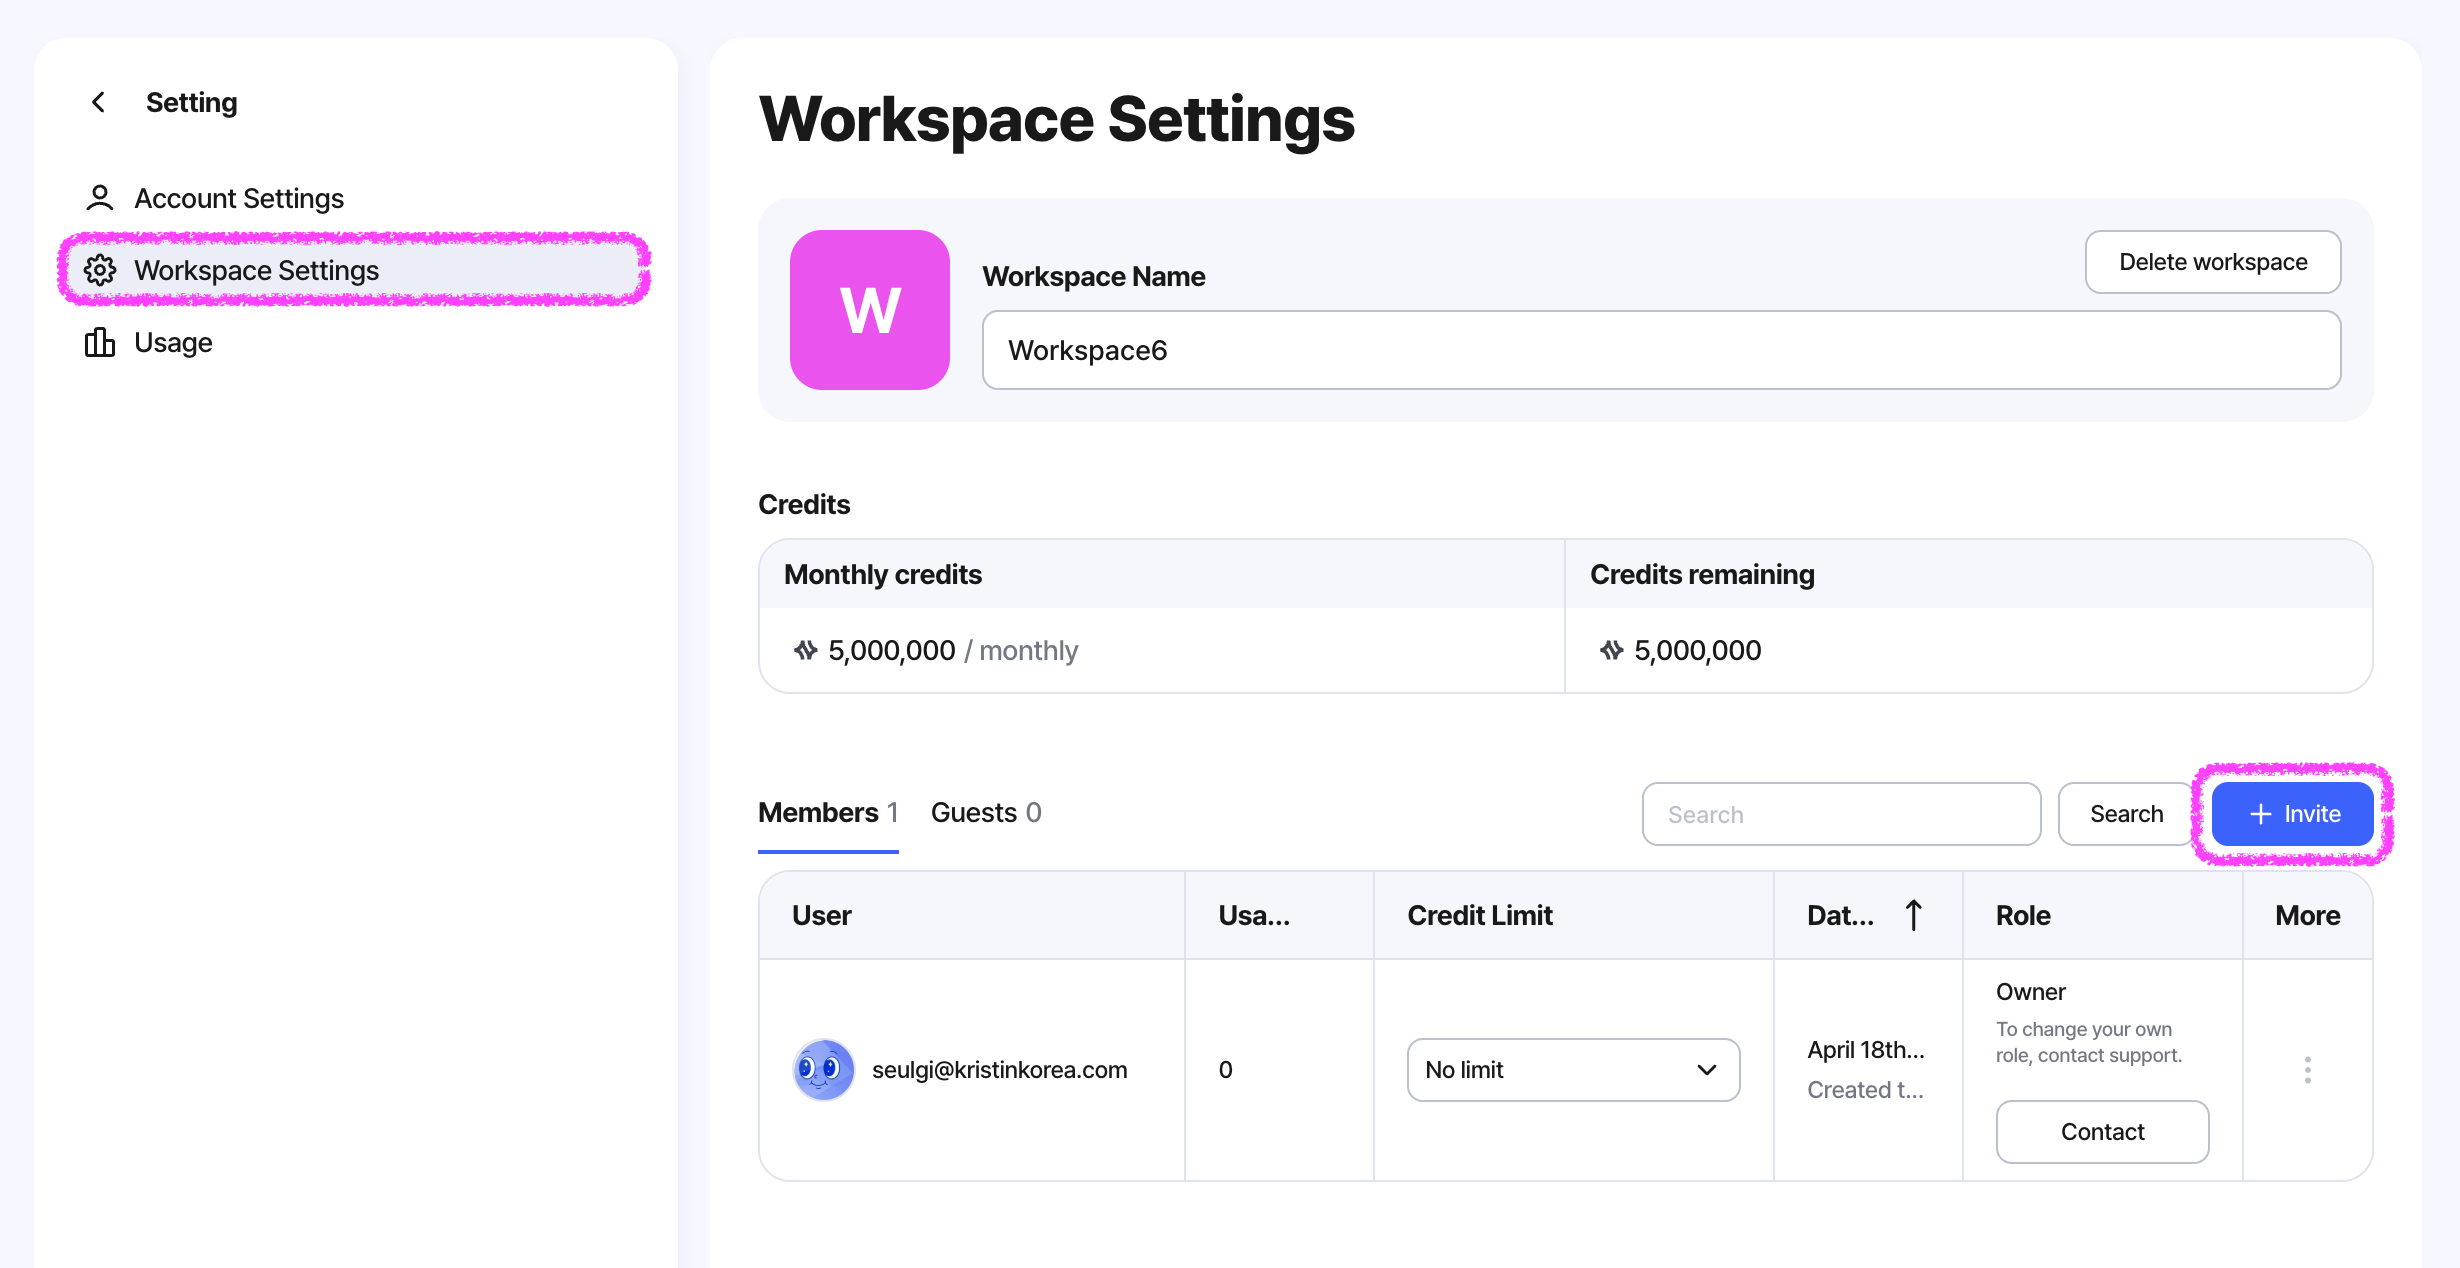
There are two ways to invite people.
Invite by email
Enter an email address, select a role, and send the invite.
Invite by link
Copy a role-based invite link and send it.
Anyone who joins through the link will enter the workspace with the assigned role.
Note
Guests cannot be invited through workspace invite.
Guests can only access through canvas sharing.
Workspace Settings
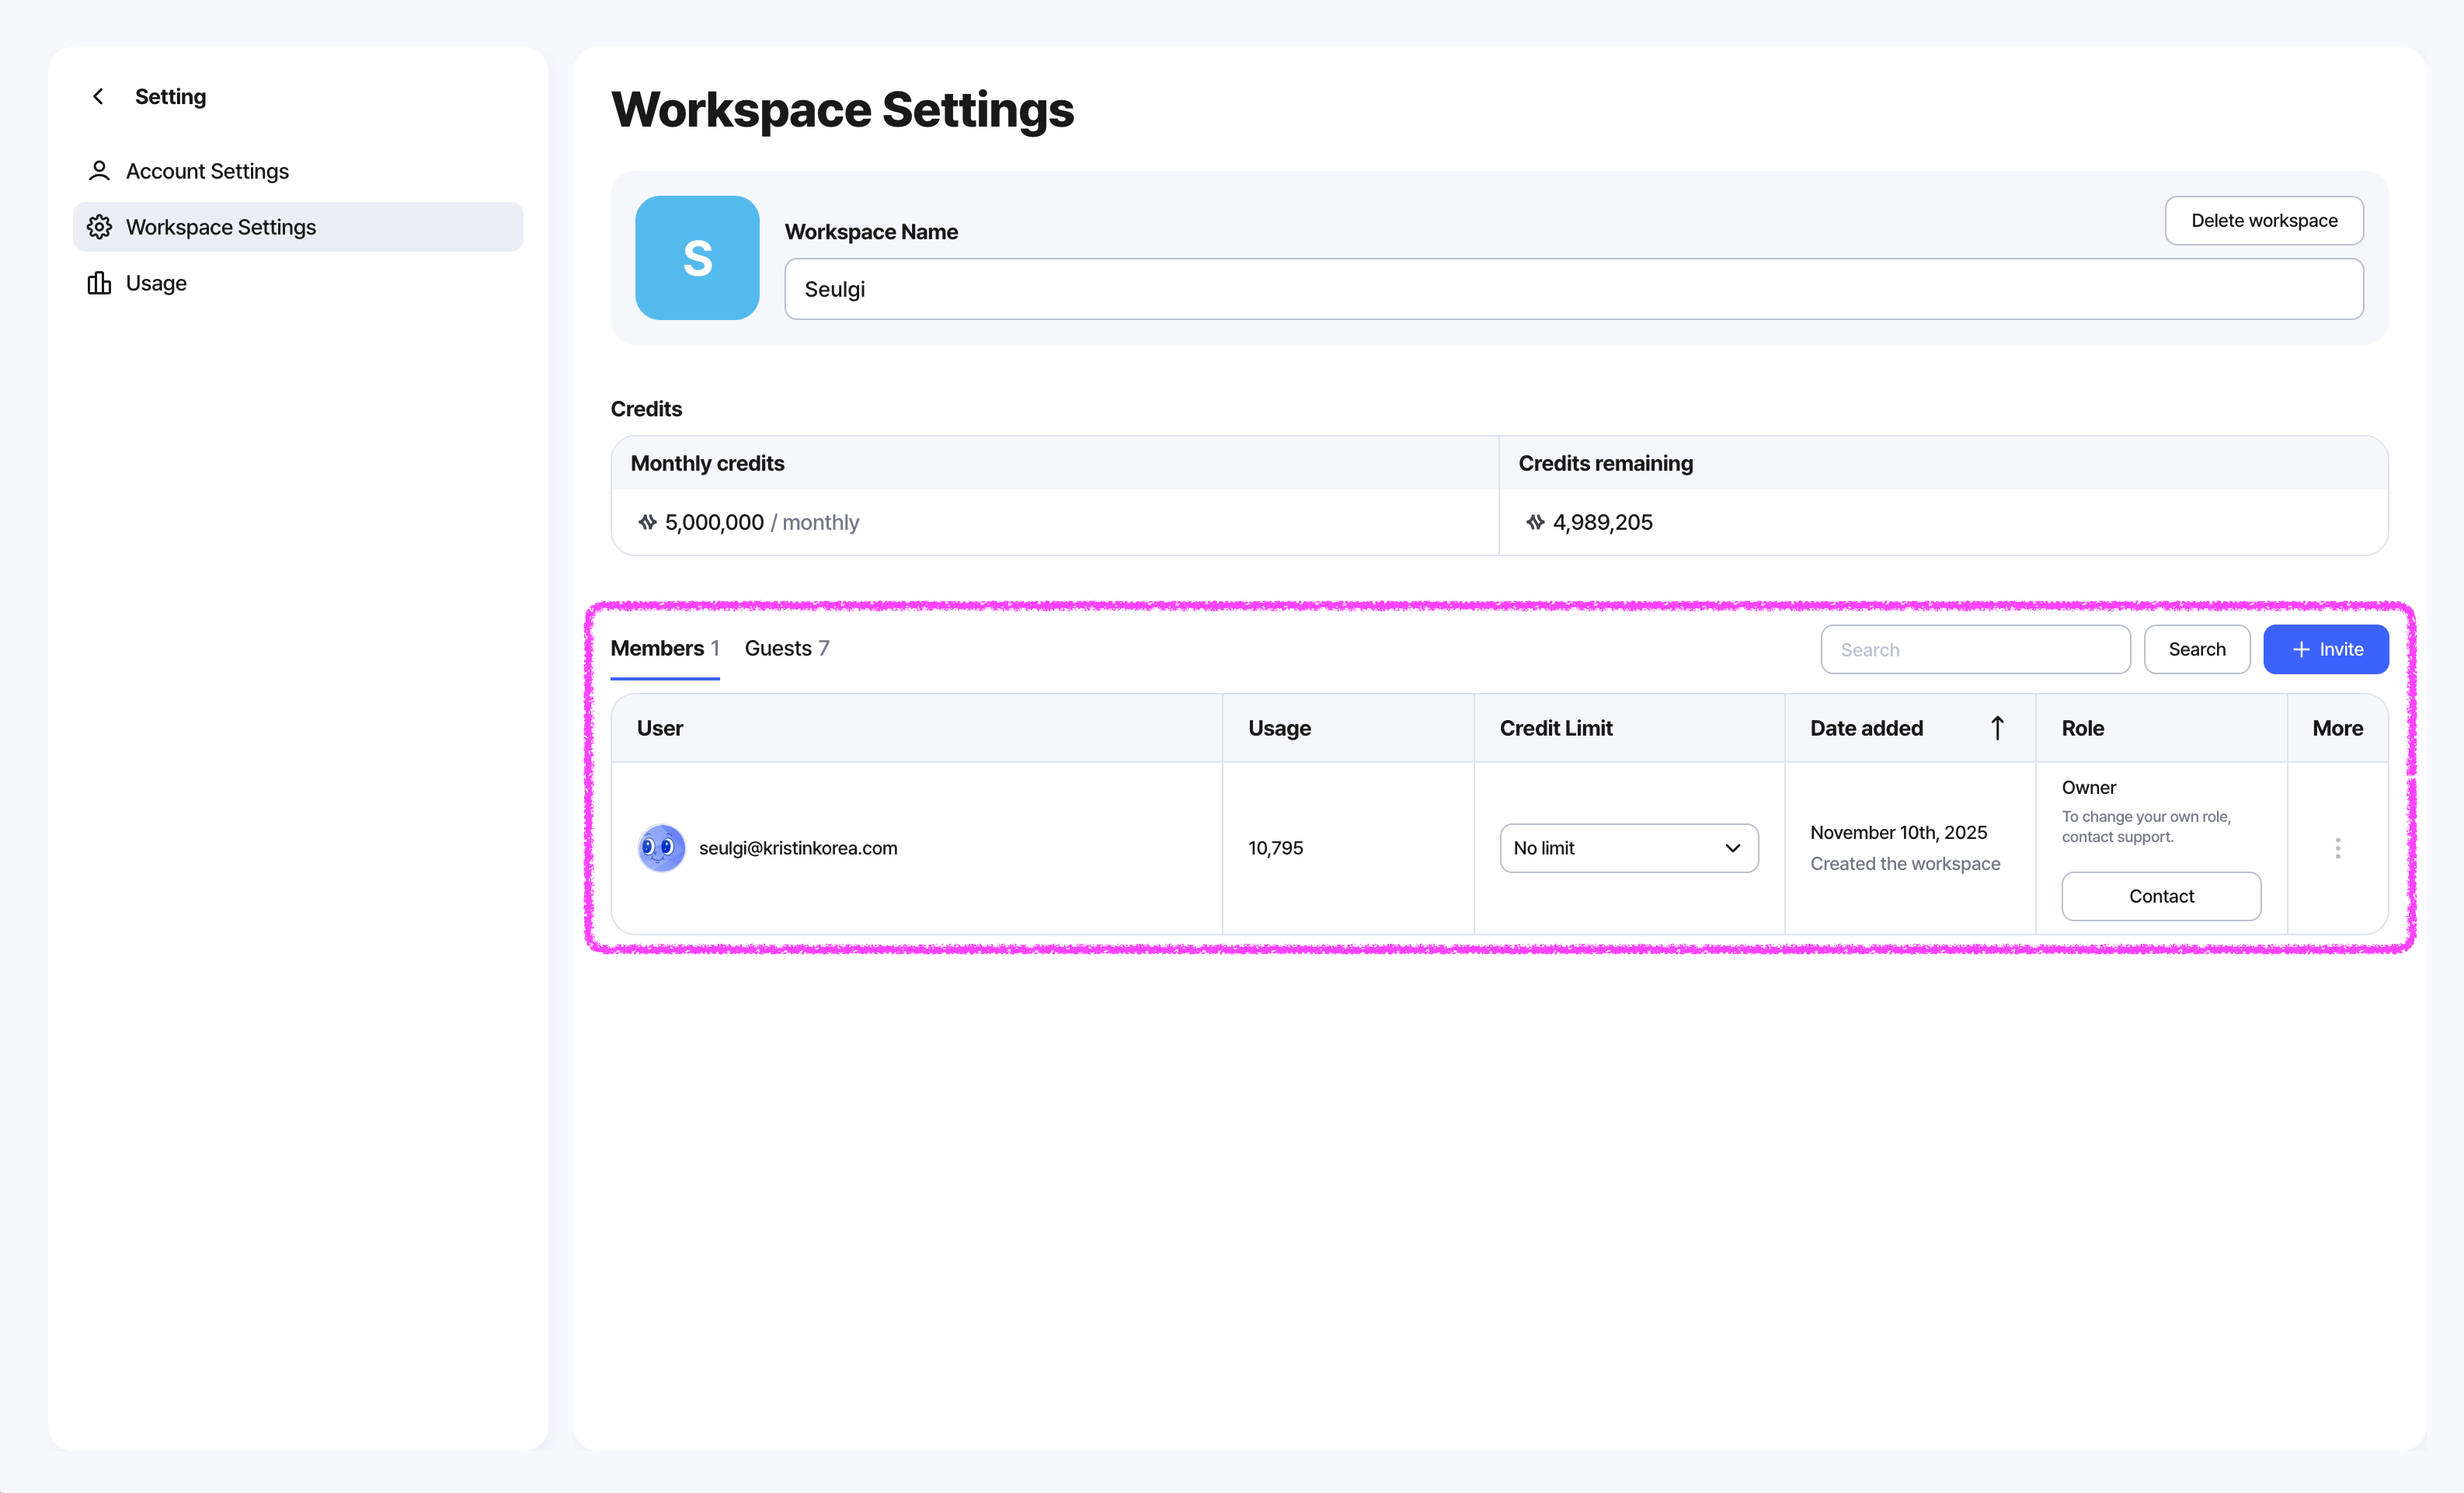
Open this page from Setting > Workspace Settings.
This page is where you manage workspace information and members.
Workspace Name
You can edit the workspace name. Only the Owner can delete the workspace.
Members / Guests
You can view the list of members and guests.
Here you can check or manage each user’s Usage, Credit Limit, and Role.
Plans & Billing
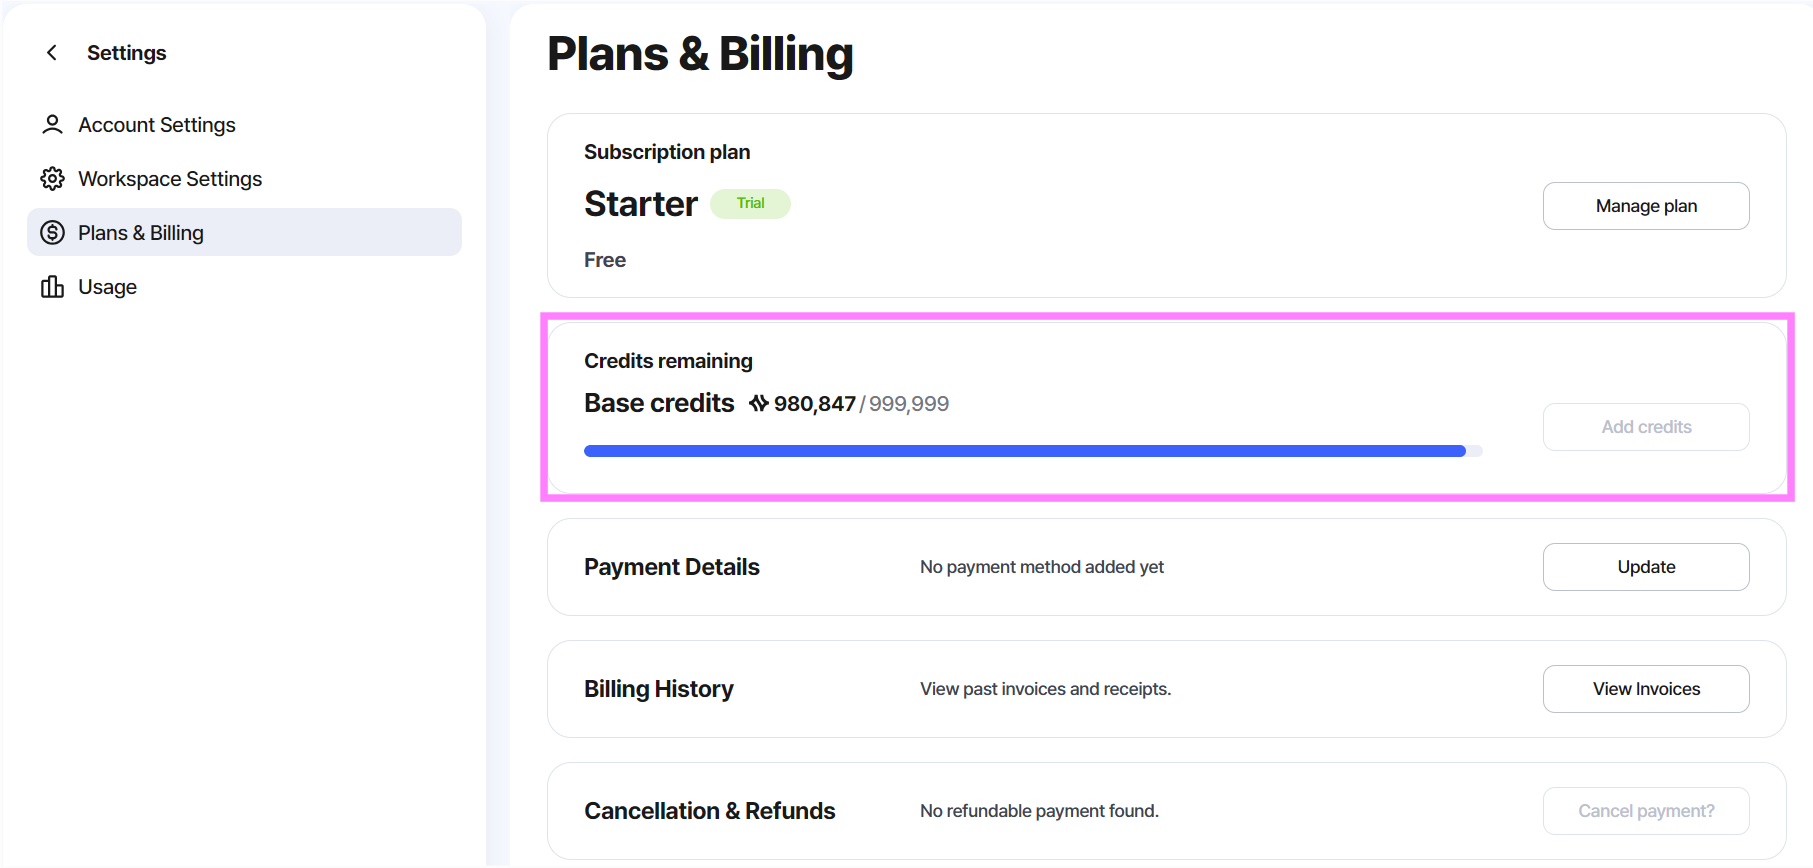
You can view your current plan and billing schedule, purchase credits, request a refund, and check your remaining credit balance in Settings > Plans & Billing.
Credits
You can check the monthly credits for the current plan and the remaining credits.
The visible range may vary depending on the user’s role.
Usage
You can see the detailed log of every generation request in this workspace in Settings > Usage.
Each row is one generation request, with the model used, who ran it, how many credits were charged, and whether it succeeded.
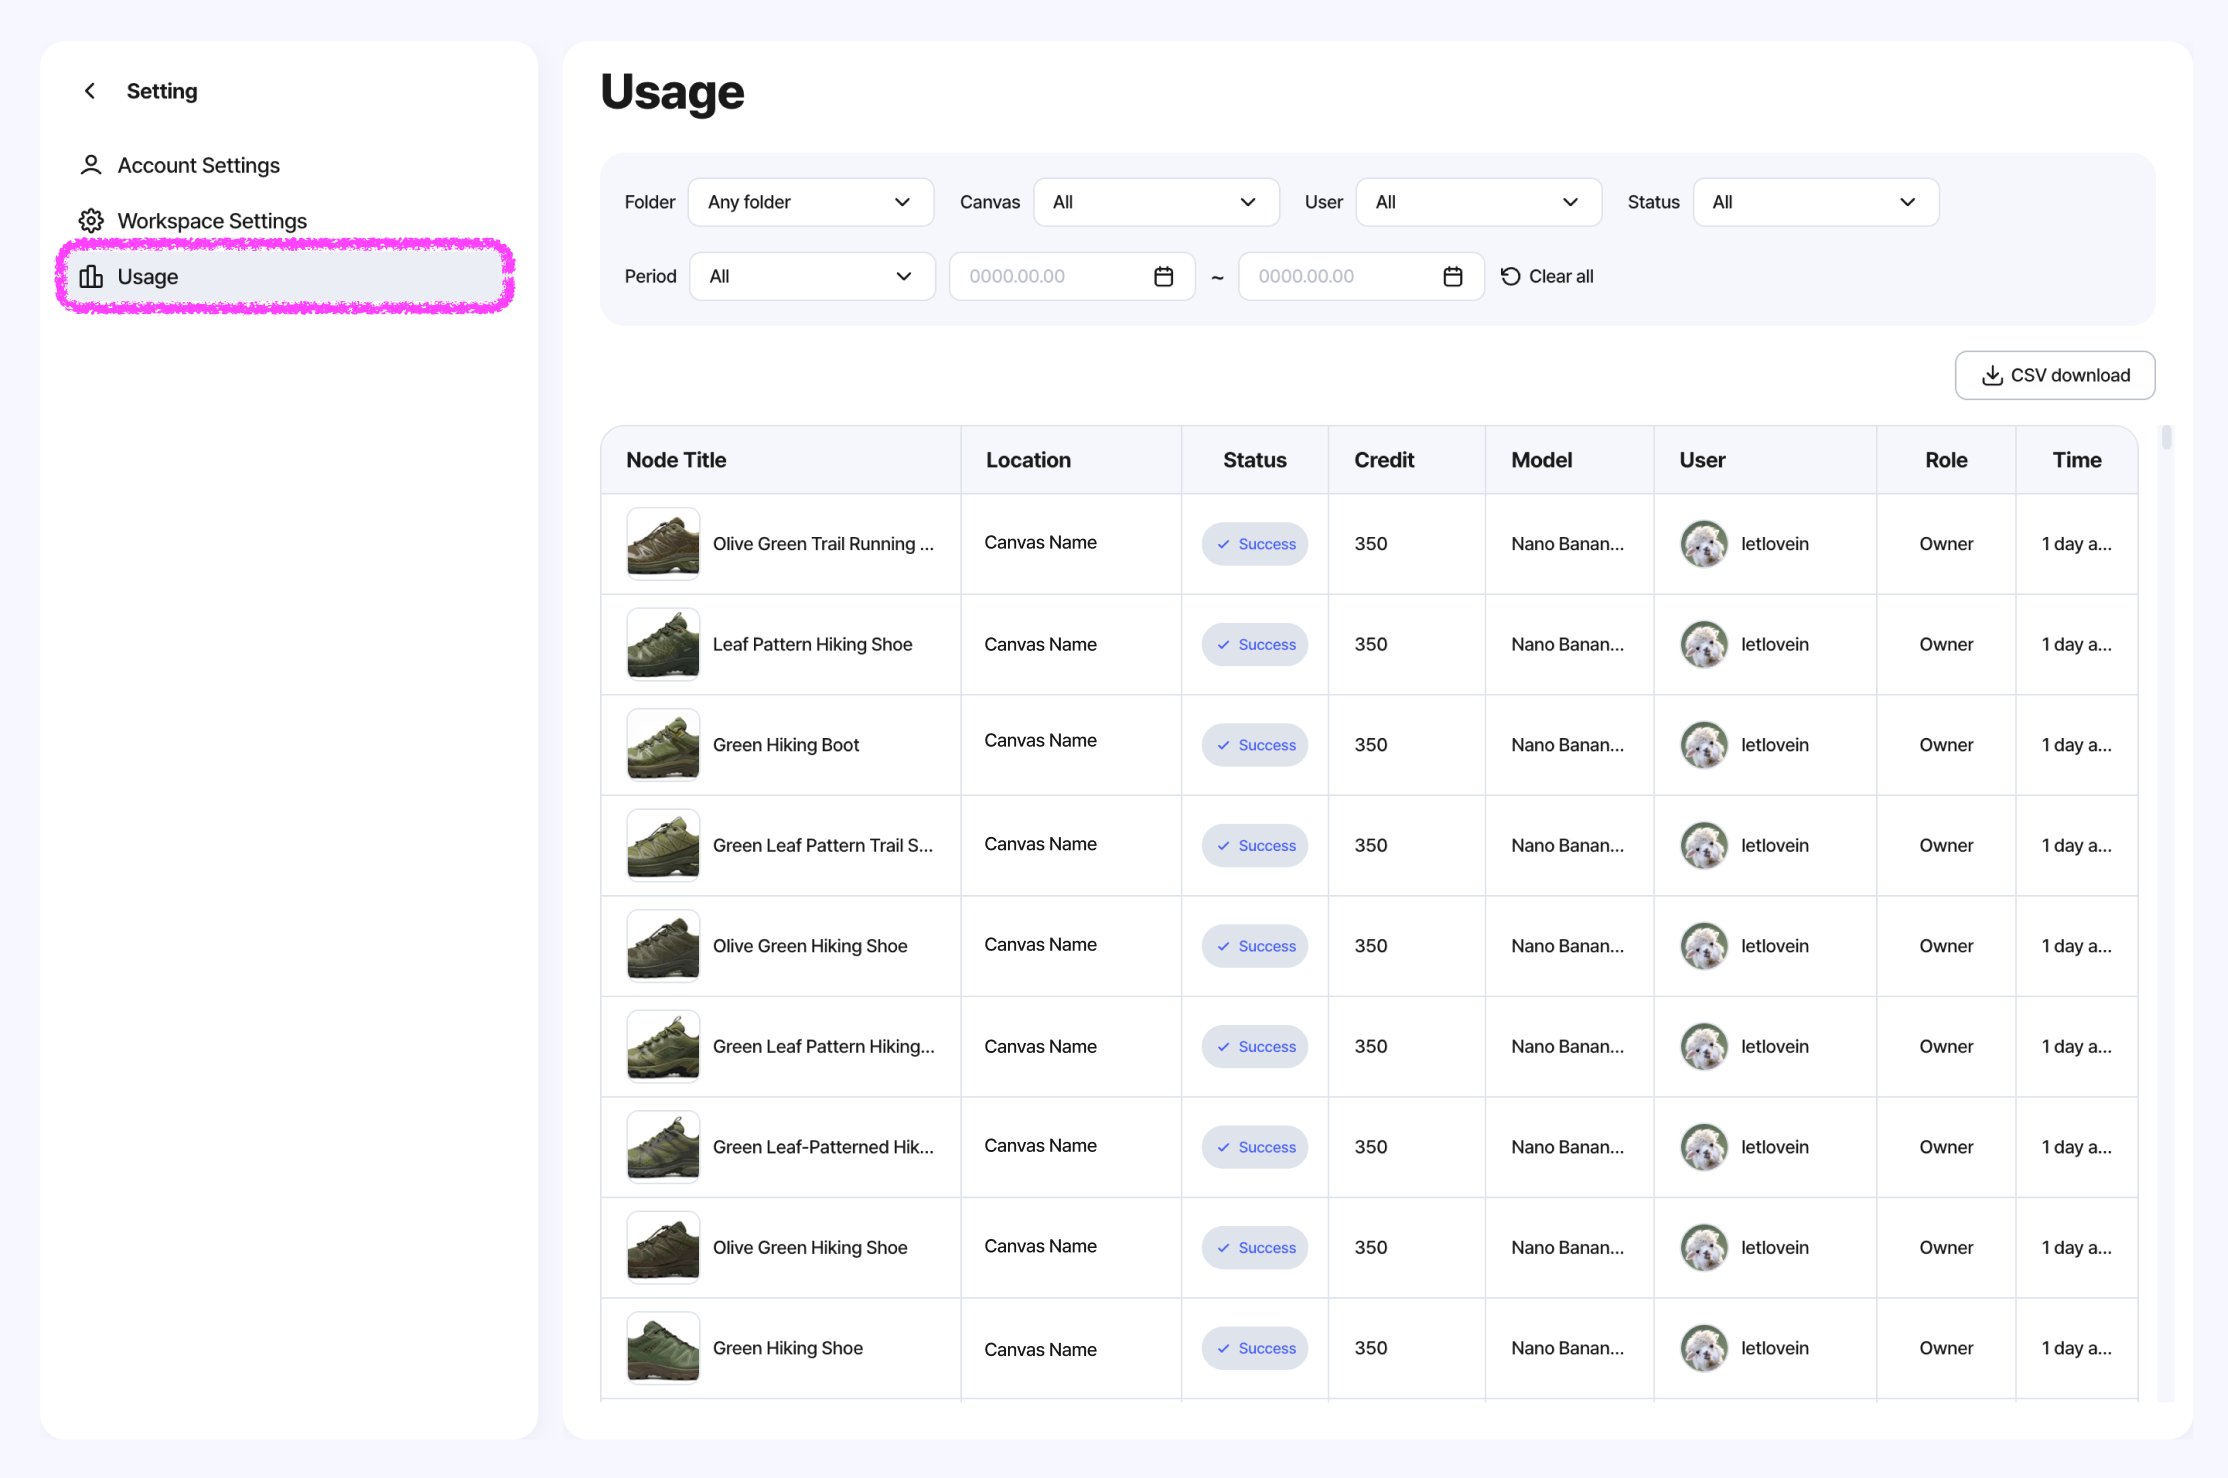
Filter the log by Folder, Canvas, User, Status (Success / Failed / Pending), or Period to narrow down the view. Click Download to export the current filtered result as a CSV file (up to 10,000 rows).
Private canvases appear as Private Canvas in both the filter list and the table, so titles stay protected.
Note
Past records are kept even after the source changes. Deleted folders, canvases, and nodes no longer appear in the filter list, but their past usage stays in the table.
History
History keeps every result you've generated, so you can find your work again without remembering which canvas it came from.
It stays accessible even if you lose access to the original canvas, or the canvas itself has been deleted or made private. Open it from the History menu in the workspace sidebar.
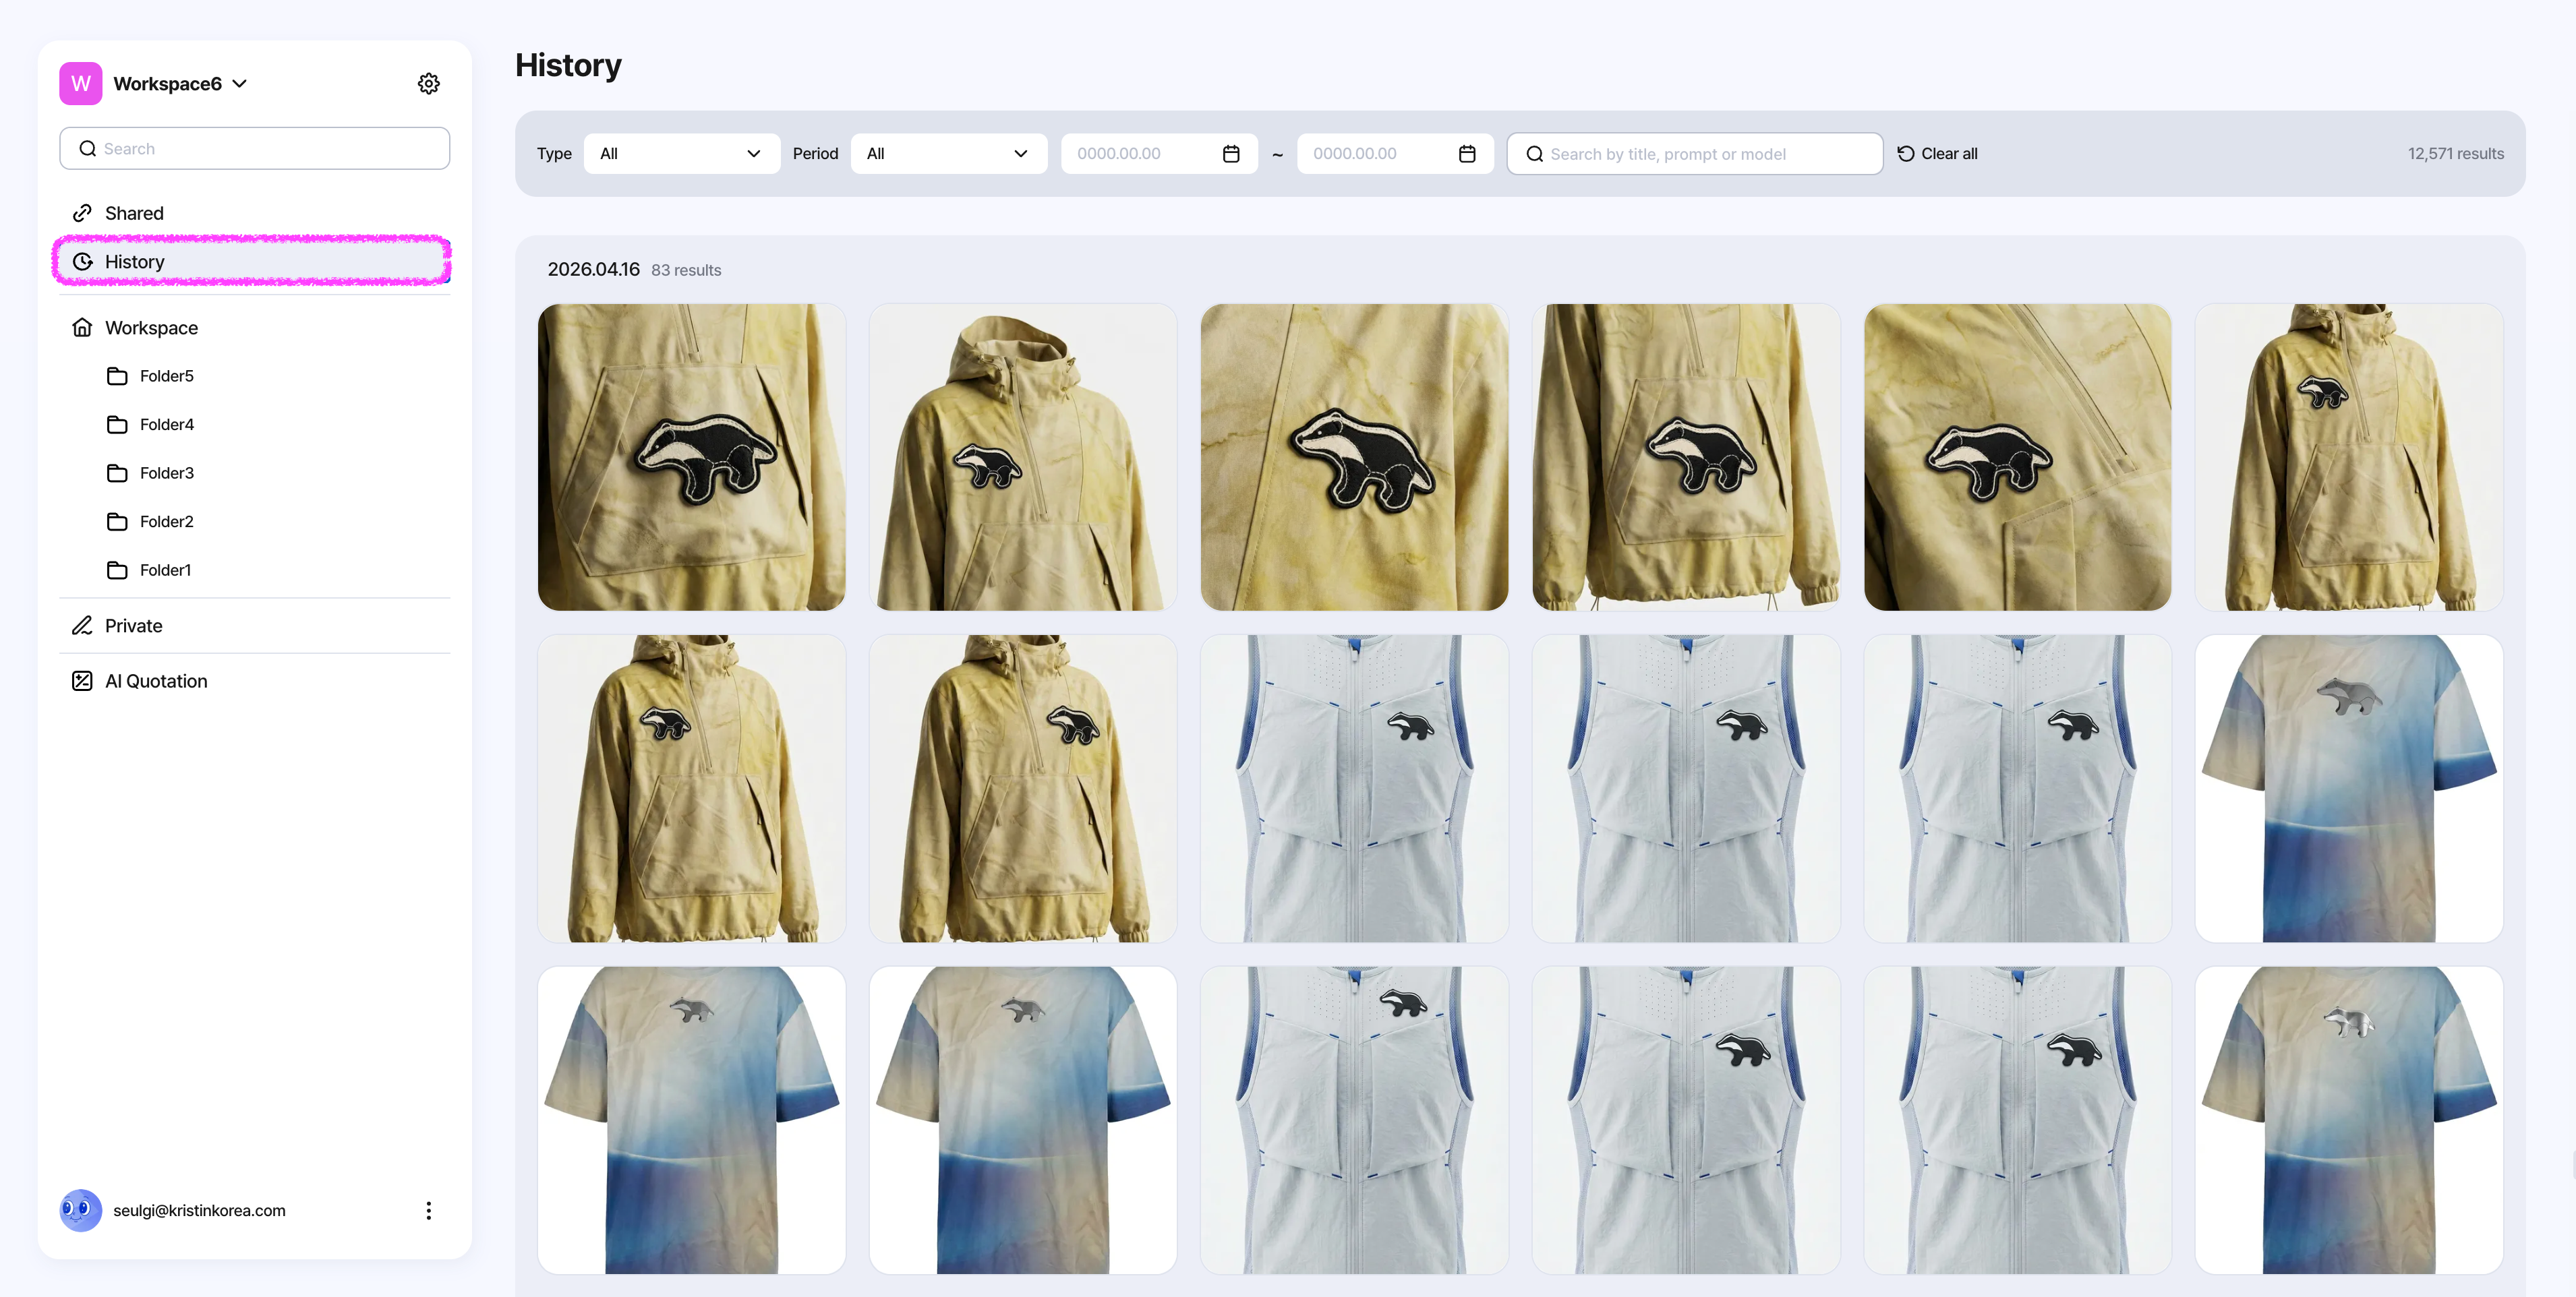
Only your own completed generations are saved here — images and videos, sorted by completion time. Failed results, pending requests, uploaded files, and generations made by other users (even on your credits) are not included.
Results are grouped by date and shown as cards. Click any card to open the detail panel, where you can review the prompt, reference image, model, and created time, then Download, Copy Prompt, Delete, or Open Source Canvas.
Note
Deleting a result from History only removes it from your History. The node on the original canvas stays, and other results that reference this one still show it in their detail view.
If the original canvas has been deleted or you've lost access, the result still stays in your History and you can still download it. The Open Source Canvas action is hidden in that case.
Workspace Ownership Transfer
The Owner can transfer workspace ownership to another workspace member.
Use ownership transfer before deleting an Owner account or when another member needs to manage the workspace's plan, billing, deletion, and final administrative controls.
Review the selected member and the responsibilities being transferred before confirming.
Leaving a workspace
Members can leave a workspace from the settings page.
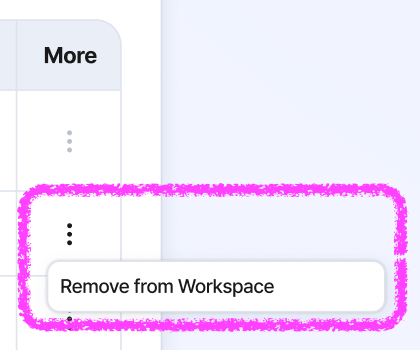
However, this is only possible if that workspace is not the only workspace the user belongs to.
If there is a workspace you no longer use, you may also leave it as it is.